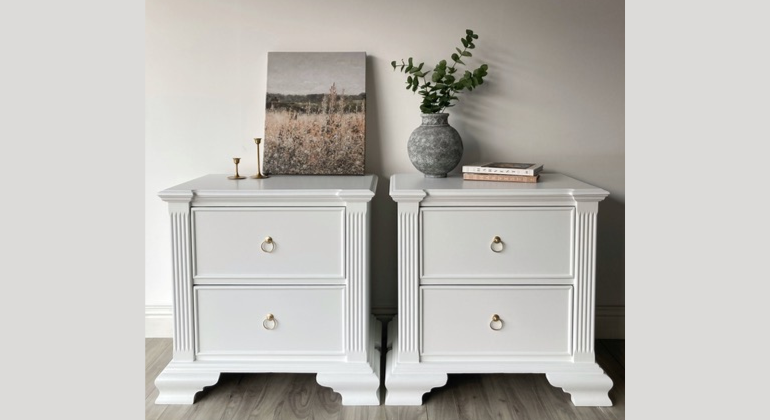
Let’s face it—everything is expensive these days, and furniture is no exception. A brand new set of nightstands can easily cost over $1,000!
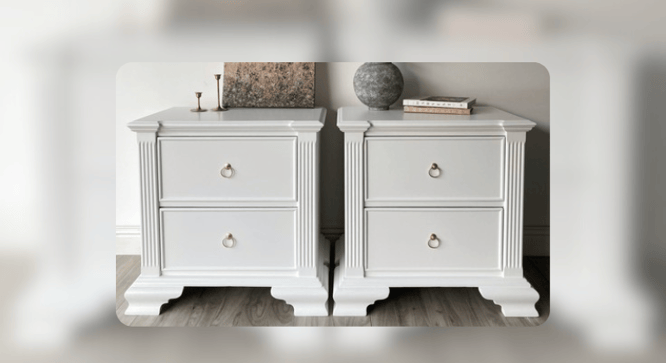
See how Kaitlin with Willow & Pine Refinishing upgraded a pair of nightstands from Habitat ReStore with a creative vision and some paint.
Old is the new new
Brand new furniture is often constructed from inexpensive materials that lack durability. Vintage or antique furniture, on the other hand, is usually built to stand the test of time.
With solid wood construction, hand carved details, and durable dovetail joints, these pieces can last for many generations. That’s likely why your grandma’s furniture is still going strong!
Not a fan of the antique look? No worries. With some effort and a little creativity, you can revamp an old piece of furniture into something fresh and unique that will last for years to come.
Not only will this save you money in the long run, but you can also feel good about preventing a piece of perfectly good furniture from ending up in the landfill.
Step one: Find yourself a piece of furniture!
Check out local thrift stores and online marketplaces, or repurpose a piece from your own home. Kaitlin found this set of two nightstands at Habitat ReStore in Calgary for less than $100!
Tip: Be sure to inspect the piece for any major damage or defects as some issues can be difficult to fix as a beginner furniture refinisher.
Don’t forget to take a picture of your piece so you can admire the transformation later on!
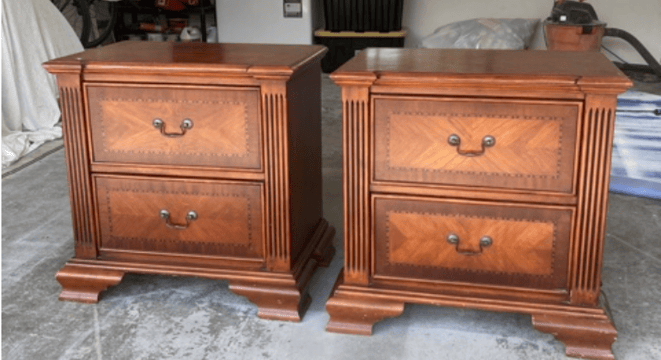
Step two: Prep the surface
Remove old hardware. Vacuum out dust and debris and clean the surface with a degreasing agent.
Tip: On a budget? Dish soap and water will do the trick to clean the surface.
Step three: Repair damage and fill holes
If you plan to change the hardware, or if your piece has major dents and scratches, fill the area with wood filler. I like to use wood epoxy or a product called Bondo for this step because it’s extra durable and sands beautifully smooth.
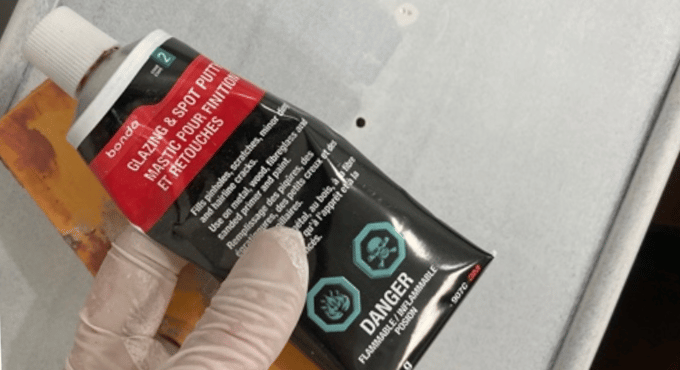
Tip: when using Bondo, be sure to wear a mask and work in a well-ventilated area
Step four: Sand and clean
Sand off the existing finish if you plan to stain the wood. If you are planning to paint the piece, you can simply scuff sand the surface with 180-220 grit sandpaper. Scuff sanding is critical to help primer stick to the surface of your piece.
Wipe the piece with a damp cloth to remove any dust or debris left over from sanding. This will ensure a smoother finish and better adherence to your primer.
Step five: Prime
Priming your piece will ensure good adherence of your paint, especially if you’re painting over a shiny surface.
To prime your piece, I use inexpensive foam rollers and a primer called BIN Shellac (the best in my opinion).
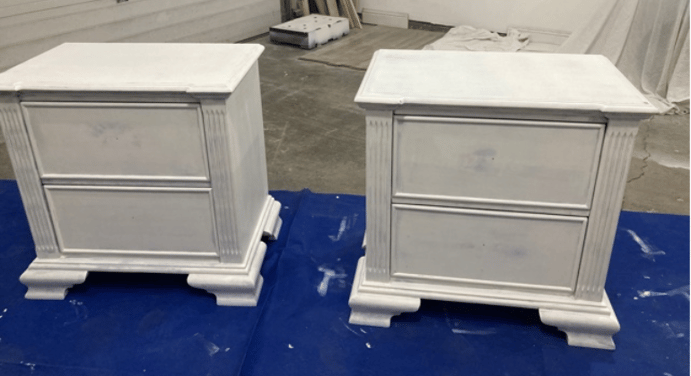
Step six: Touch-ups
After priming your piece, you may notice scratches or dents that you missed filling earlier on. If that’s the case, this is a good time to re-fill any damaged areas!
Tip: Remember to sand and re-prime the area if you apply more wood filler.
Step seven: Sand
To ensure a smooth finish, I always like to sand after priming. I like to use 300-400 grit sand paper for this step. This lower grit will smooth, but isn’t abrasive enough to remove the primer.
Wipe the surface again with a damp, lint-free cloth to remove any dust before you start applying paint.
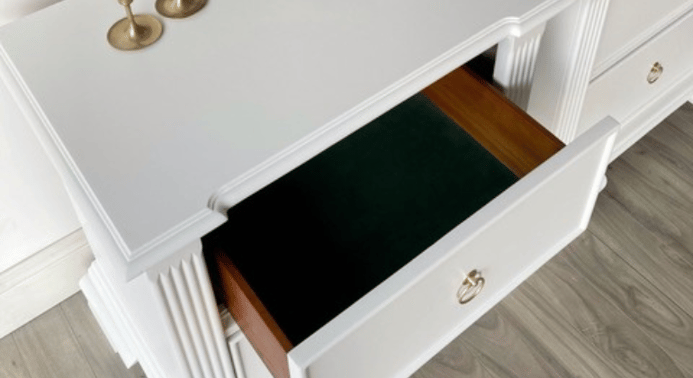
Step eight: Paint
I normally use enamel paints (or paint meant for cabinetry) as it tends to be more durable and it doesn’t require a top coat. Applytwo to three coats of paint, allowing the paint to dry completely between applications.
For this step, you can use a roller, brush or a paint sprayer. I find a paint sprayer gives a much more professional-looking finish but for a beginner DIY project, using a brush or a roller is just fine.
Tip: Lightly sand your piece between coats using 600+ grit sandpaper for an ultra-smooth finish.
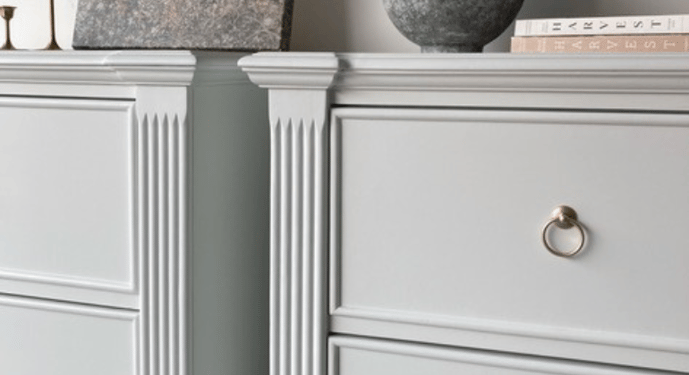
Step nine: Final touch-ups and hardware
Take a look over your newly painted piece and make final touch-ups using a small artist’s brush.
Install the new (or reinstall the old) hardware to your piece.
Step ten: Find a home for your new piece
Now it’s time to step back and appreciate how you’ve transformed an old piece of furniture into something fresh and unique. Don’t forget to take a picture so you can show your friends your DIY skills!
Go follow Kaitlin on Facebook and/or Instagram to see more spectacular furniture makeovers!
