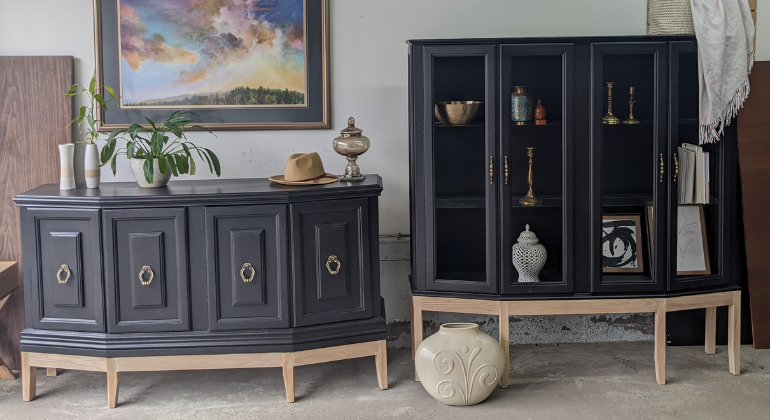
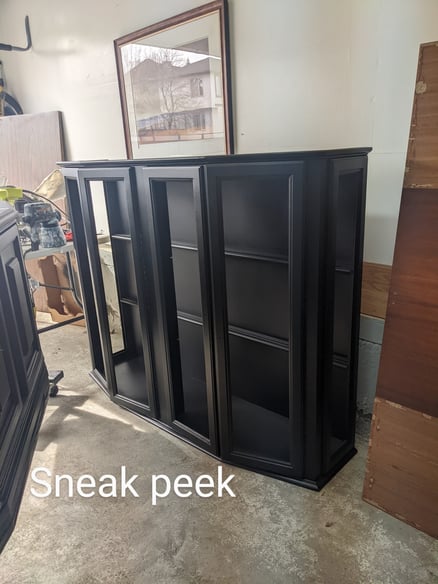
I flipped a single hutch from the Habitat ReStore into two separate pieces: a sideboard and a display cabinet. Here is how I did it!

Step 1: Clean
Older pieces like this have been through some things: spills, smoke, pets, who knows! A thorough clean is necessary before you get started. I recommend wiping your piece down with a water and vinegar solution, then a de-glosser and finish by wiping with a damp cloth.
Step 2: Sand
Once your piece is clean and dry, scuff sand the entire piece using 180-grit sandpaper. Scuff sanding ensures the primer will adhere well to the surface.
Step 3: Clean (again)
If you have a shopvac, give your piece a vacuum and then wipe it down with a damp cloth to remove lingering dust. (A regular household vacuum is not recommended as the fine dust can cause issues with the motor).
Step 4: Prime
Its time to prime! I used 2 coats of my favorite primer: Zinsser BIN. It’s sticky and stinky, but totally worth it!
Step 5: Paint
Apply the first coat, let dry for the recommended amount of time on the directions and then reapply the next coat of paint. When correctly applied, 2-3 coats of paint should give you the coverage needed.
I failed here because I primed and painted during that “lovely” April blizzard that we had. My paint didn’t adhere and it bubbled in a few spots. I have no excuse, there are temperature and humidity rules on the paint buckets! Learn from me, wait or paint inside! I repeated steps 2-5 again to fix the bubbles.
Step 6: Topcoat
I used 2 coats of a water-based top coat by Varathane: Interior Diamond Wood Finish in Clear Satin. Be sure to follow the instructions on the label for time between applications. Adding a second coat too soon can cause unwanted texture and repeating steps again.
Step 7: Build legs
The base is inspired by @DIYWife on YouTube, she’s amazing! I measured and cut each piece, then made pocket holes with a Kreg jig. The pieces were attached with wood glue and self-tapping screws.

Step 8: Admire!
It can take up to 4 weeks for the paint to cure completely. Even a light-weight vase can make indents on the surface! If I am staging a piece to take pictures and sell, I make sure I clear the surface as soon as I am done.

Check out my Instagram and TikTok to see more furniture flips, and be sure to follow @CalgaryReStore on social.
