

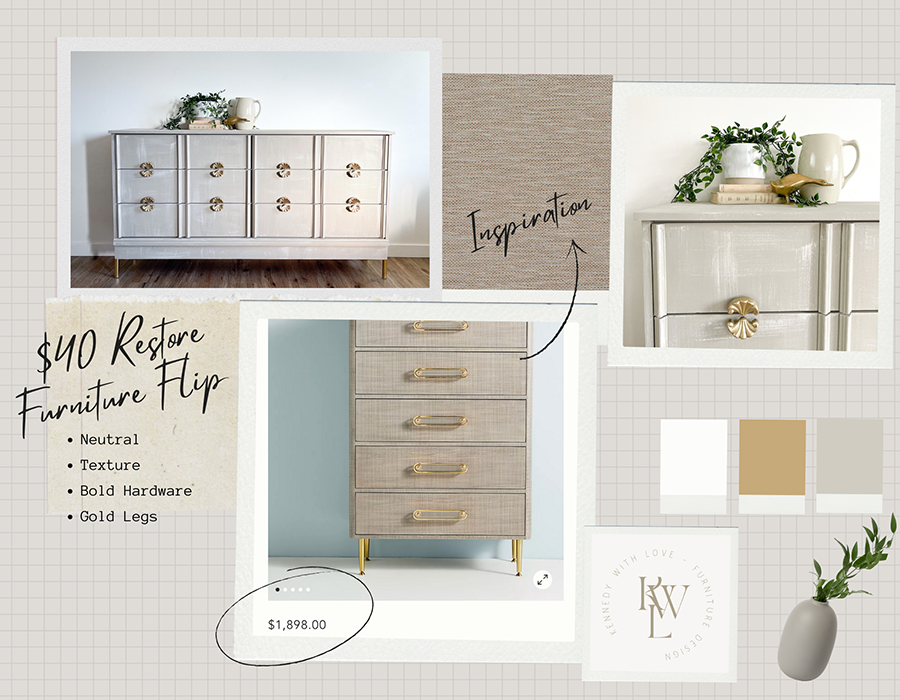
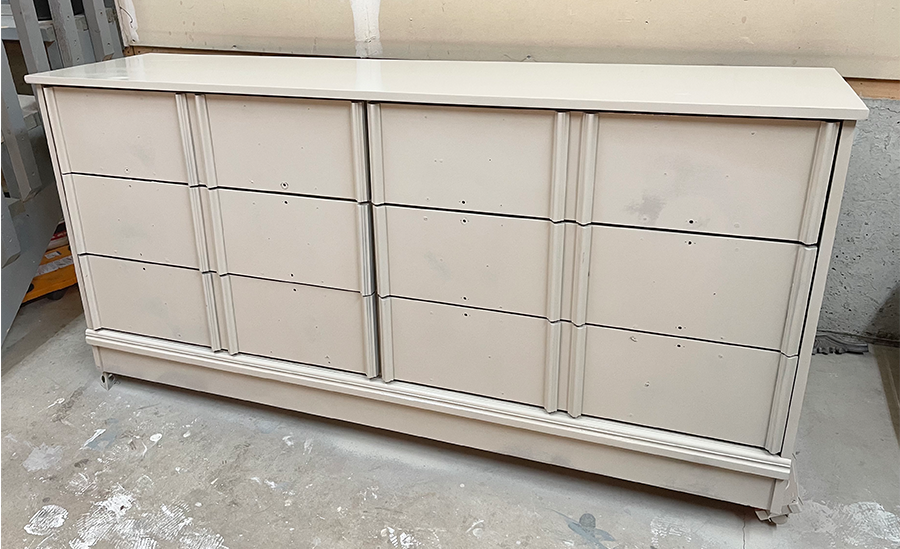
We partnered with Kennedy With Love to transform an old dresser from Habitat ReStore into a beautiful piece for any home.
Follow Kennedy With Love’s 10 steps to recreate this gorgeous transformation.
Step 1: Remove hardware
Using a screwdriver, remove the dresser hardware.
Step 2: Clean the dresser
To ensure the paint adheres properly to your piece, scrub it clean! Combine a teaspoon of degreaser (dish soap, Tide, Borax, etc.) with water to clean the piece.
Step 3: Remove unwanted appliqués
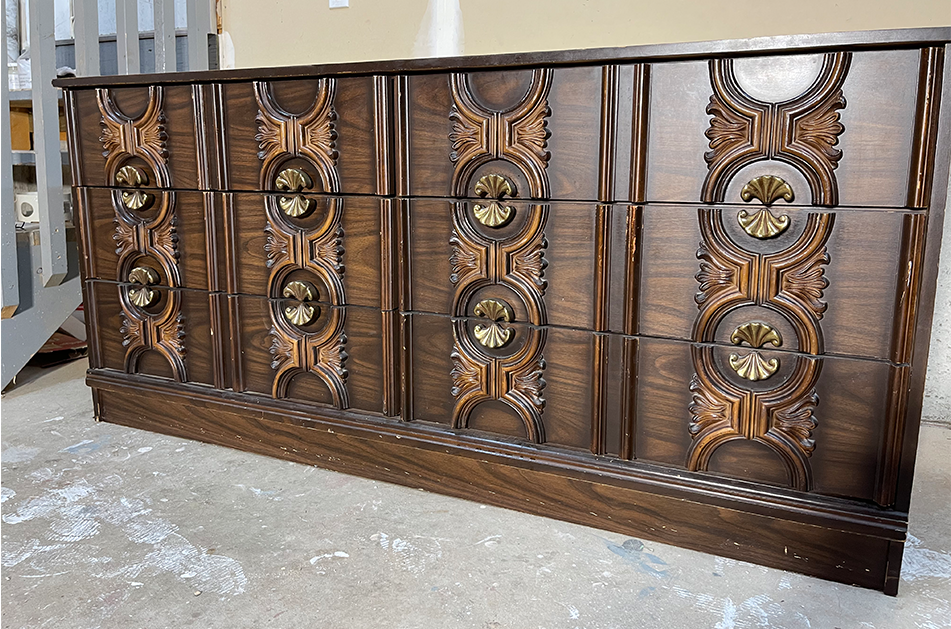
I love unique detail, and on this piece, I loved the original hardware and I wanted them to be the showpiece.
Step 4: Fill holes
Using a wood filler, fill any holes or unwanted scratches.
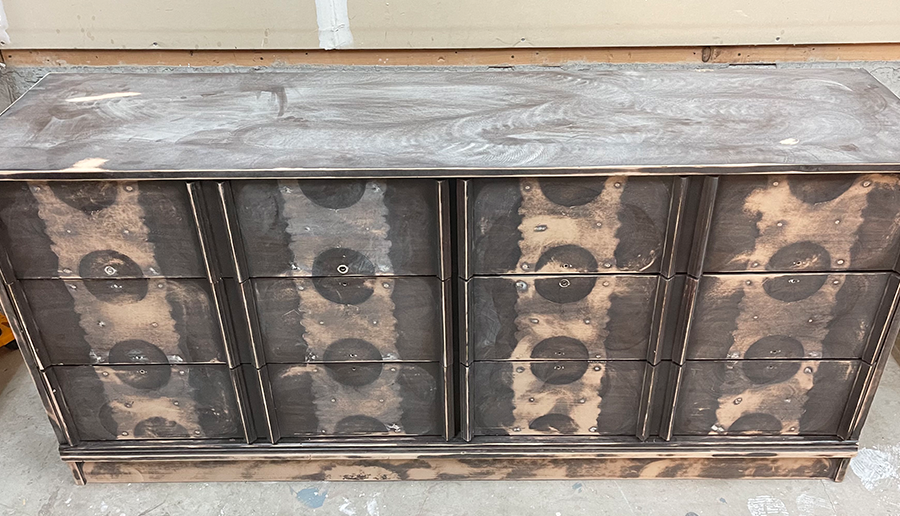
Step 5: Sand the piece
Sanding is another important step in getting the best paint adhesion. Especially on furniture that is high gloss or has previously been sealed.
I used 120 grit sandpaper for this dresser.
Step 6: Clean again
Properly cleaning after sanding to remove left over dust and debris is a must before applying paint!
Step 7: Paint
I used my HomeRight Super Finish Max to paint this piece. It’s a dream to use, but a paint brush or roller will also work just fine.
I used House&Canvas Furniture Paint. It is a top-quality, water-based paint that dries to an ultra-matte. This paint is self-levelling and requires no base coat or primer.
The paint is non-toxic, with ultra-low VOCs for safe indoor use or if your kiddos try to help you paint like mine always do!
Step 8: Add legs
Obviously not all DIY’s will require you to bring out the drill and add legs but when I saw this ugly duckling of a dresser at Habitat ReStore, I knew it needed some “WOW” factor. These legs do just that!
The legs were purchased on amazon.ca.
Step 9: Add texture
I used the colours Angora and Underground by House and Canvas as my accent colours to create depth and a faux tweed look.
I used a rough bristle brush and dabbed excess paint on to a paper towel to achieve soft light brush strokes.
I repeated this several times in opposite directions and with both colours until I was satisfied with the effect.
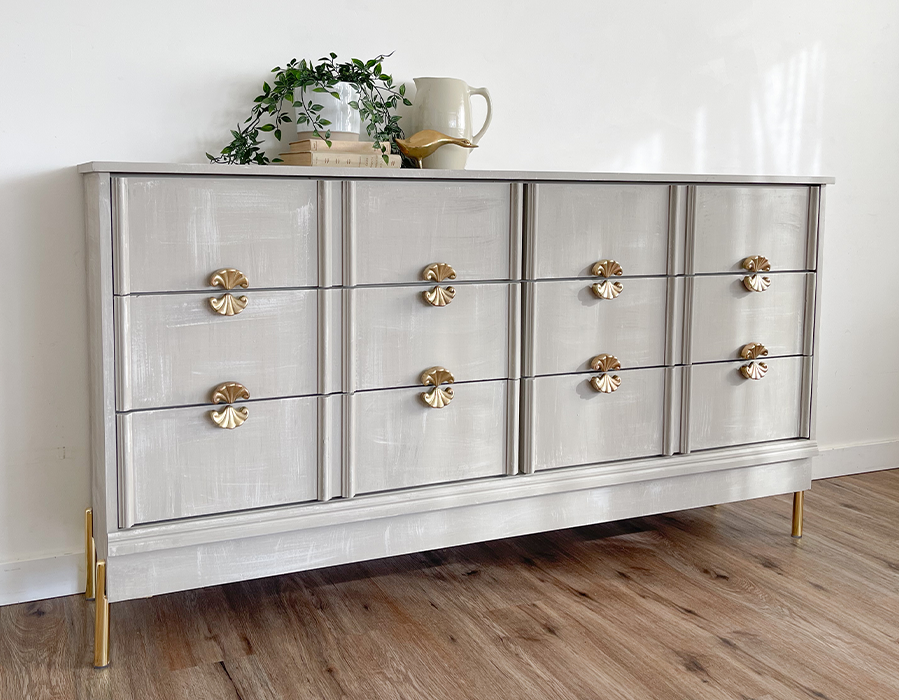
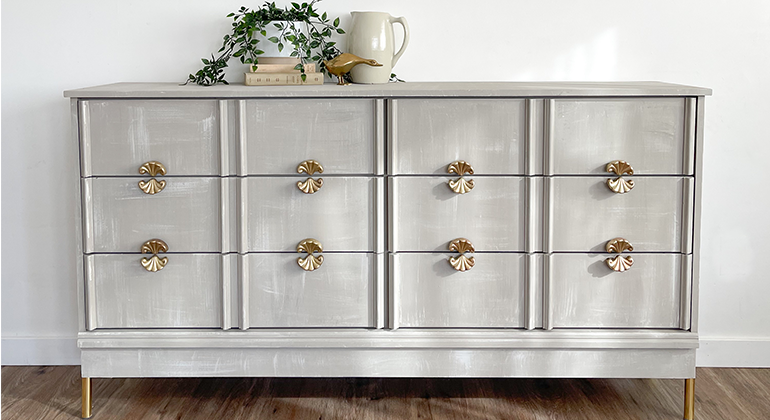
Step 10: Enjoy your piece!
Time to place your new piece in your home and enjoy your hard work!
Follow Kennedy With Love on Facebook and/or Instagram to see more spectacular furniture makeovers!
